TM 9-2320-266-34
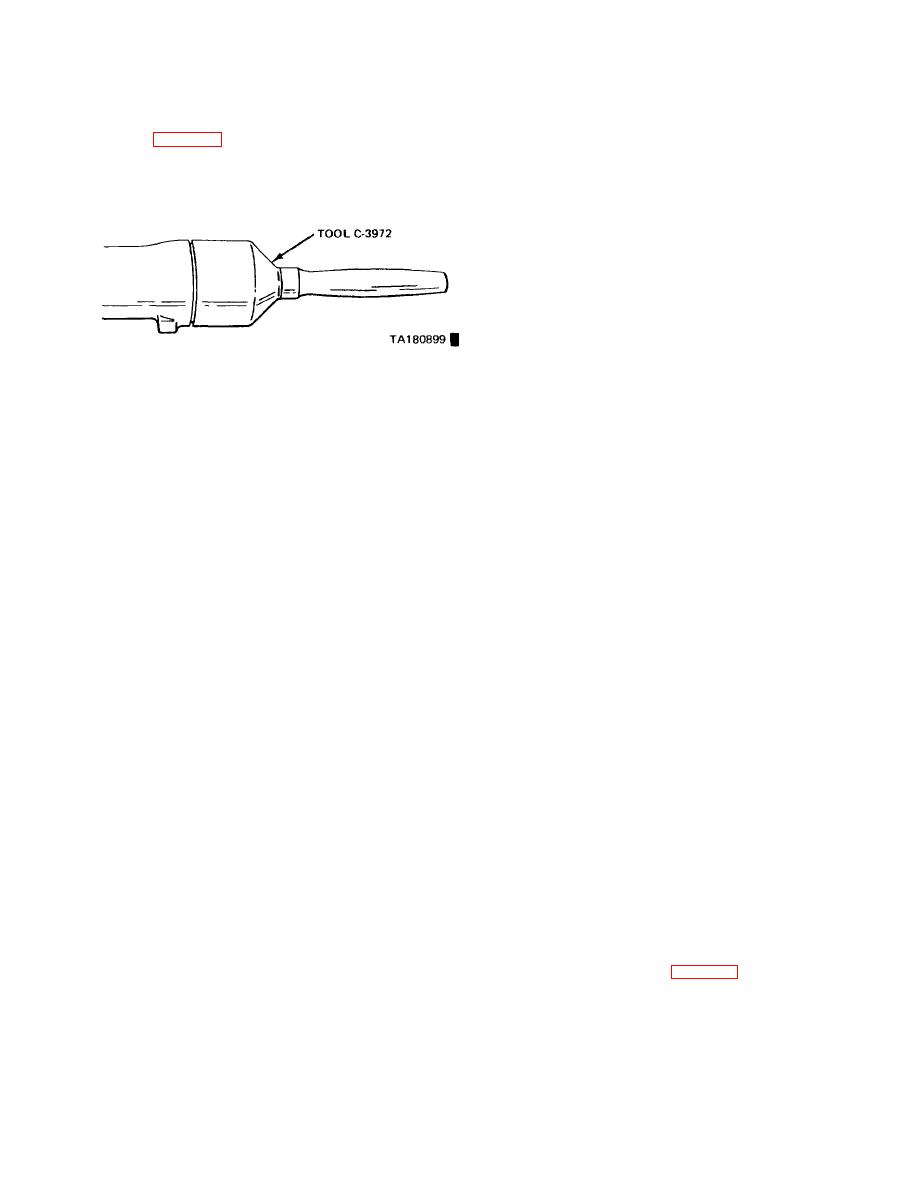
d. To install a new seal. position it in the opening of the
e xtension housing and drive it into the housing with tool
rear support on 4X2 models. Remove both propeller
C-3972 (figure 4-36).
shafts, transfer, and the center mount on 4X4 models.
e. Carefully guide the front universal yoke into the
m. Disconnect the wire connector from the back-up light
extension housing and on the mainshaft splines Aline the
and the neutral safety switch,
marks made at removal, and connect the propeller shaft to
the rear axle pinion shaft yoke
assembly from the transmission
o. Disconnect the throttle rod from the lever at the left
side of the transmission
P. Remove the speedometer cable (4X2 models only).
q. Remove the oil filler tube
r. Place a wood block under the engine, and support it
with a jack.
s. Raise the transmission slightly with the transmission
jack to relieve the load on the supports.
Figure 4-36. Installing Extension Housing Yoke Seal.
t. Remove the bolts securing the transmission mount to
4-18. Removing the Transmission and Converter.
the crossmember and those securing the crossmember to the
frame. Remove the crossmember,
NOTE
u. Remove all bell housing bolts.
The transmission and converter must be
v. Attach a small "C" clamp to the edge of the bell hous.
removed as an assembly. otherwise. the
ing to hold the converter m place during transmission
converter drive plate. pump bushsng. or
removal.
oil seal may be damaged. The drive plate
w. Carefully remove the transmission and the converter
will not support a load; therefore. don't
as an assembly from the engine block dowels.
rest the transmission on the plate during
removal,
x. Lower the transmission and remove the assembly from
under the truck.
a. Disconnect the negative (ground) cable from the
Y. Remove the "C" clamp from the edge of the bell
battery.
housing.
b. Raise truck off the ground to gain access to the
Z. Carefully slide the converter assembly off the trans-
transmission.
I
mission shaft.
4-19. Transmission, Converter, and Drive Plate
d. Remove the strut between the engine and transmission.
Installation.
e. Remove the oil falter.
CAUTION
j Disconnect the cooler lines at the transmission.
g. Remove the starter and the cooler line bracket.
The transmission and converter must be
installed as an assembly: otherwise, the
h. Remove the converter access cover.
converter drive plate, pump bushing, and
oil seal may be damaged. The drive plate
NOTE
will not support a load. Therefore, never
rest the transmission on the plate during
Drain plug is not installled on late model
installation.
transmission. On these transmissions
drain transmission, only.
I
NOTE
i. Rotate the crankshaft clockwise, using a socket
When installing a replacement transmission
wrench on the front of the crankshaft to bring the con.
in a vehicle, make sure that the linkage
verter drain plug to the bottom. Then, dram the converter
(throttle control lever) is identical to the
and transmission
old transmission. If not, remove the
linkage from the old transmission, and
j. Mark the converter and the drive plate to aid in reassem-
install it on the new one.
bly. The crankshaft flange bolt circle. the inner and outer
circle of holes m the drive plate. and the four tapped holes
a. Rotate the pump rotors with tool C-3881 until the two
in the front face of the converter all have one hole offset so
small holes in the handle are vertical (figure 4-37).
these parts will be installed in the original position This
maintains balance of the engine and converter.
k. Rotate the crankshaft clockwise with a socket wrench
on the front of the crankshaft to expose the bolts attaching
the torque converter to the drive plate. Remove the bolts
in sequence.
Change 6
4-24


