TM 9-2320-266-34
CHAPTER 8
REPAIR OF THE BODY AND SHEET METAL
8-1. Replacing Body Components.
Instructions for replacing body components of the
trucks are contained in TM 9-2320-266-20.
8-2. Body and Sheet Metal Repair.
a. Body and sheet metal components may be repaired
using the methods set forth in TM 9450 (Metal Body
Repair and Related Operations). When welding is required,
use heliarc (or equivalent) type equipment to avoid over-
heating or changing the metal characteristics.
b. To make some of the repairs on the ambulance
models. it will be necessary to use a rivet gun.
8-3. Windshield.
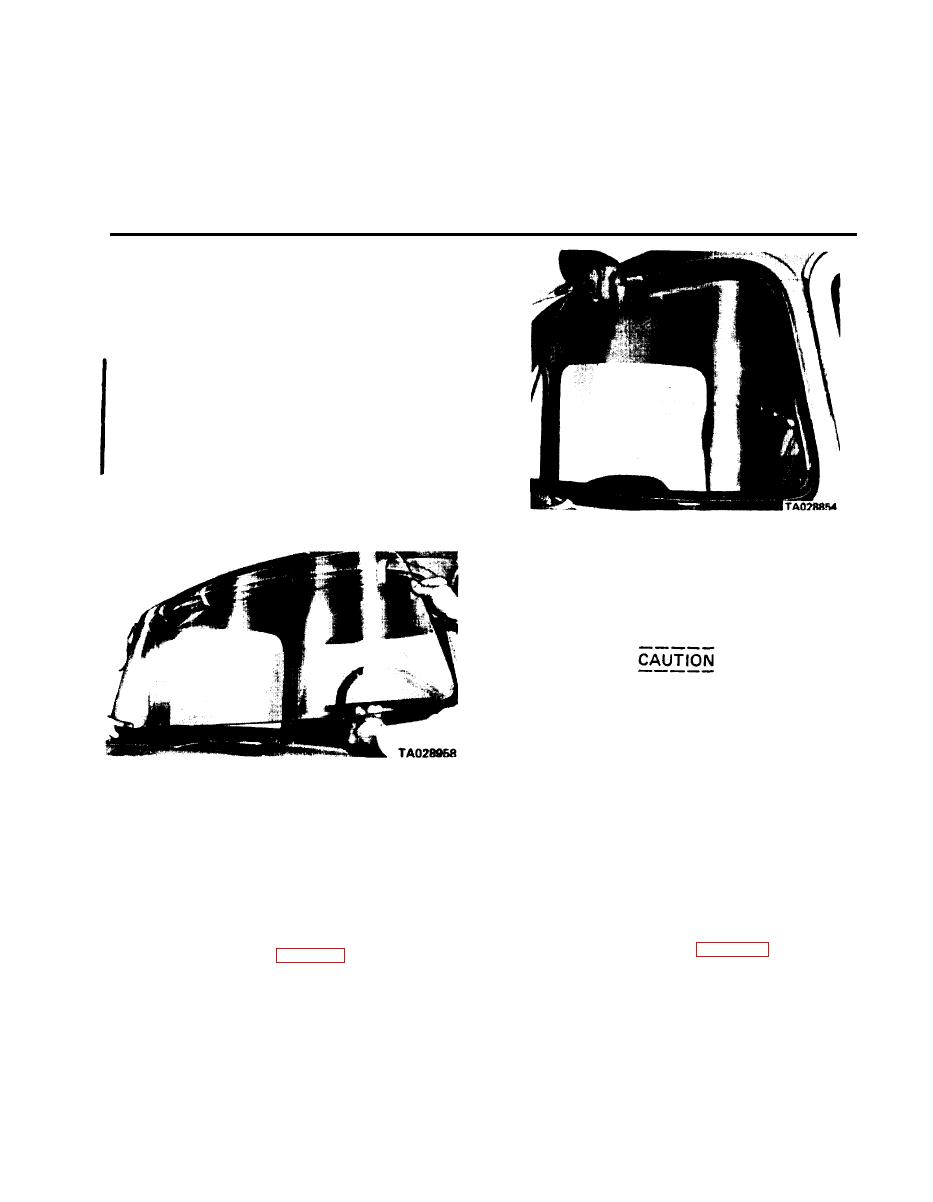
a. Removal. Refer to figure 8-1.
Figure 8-2. Windshield Installation.
(1) With an assistant helping, slide one corner of the
glass into the lower glass groove of the weatherstrip.
(2) Move the glass into the groove as far as possible.
Use a fiber wedge to force the lip of the weatherstrip over
the glass around its entire circumference.
Use mineral spirits ONLY, if you need to
use a lubricant while installing the wind-
shield. Other lubricants will damage the
weatherstrip.
(3) Starting at one of the lower windshield corners,
insert the locking strip in the groove. Be careful not to
Figure 8.1. Windshield Removal.
overstretch the locking strip.
(1) Cover the cowl grille to protect the paint.
(4) Test the windshield area by spraying it with water
(2) Remove the wiper arms and blades (TM 9-2320-
and inspecting for leaks.
266-20).
(5) Install the windshield wiper arms and blades
(3) Remove the rubber locking strip from outside the
(TM 9-2320-266-20).
weatherstrip.
8-4. Replacing the Rear Window.
(4) Have an assistant support the windshield from the
outside. From inside the cab, progressively force the entire
Removing and installing the rear window is similar to re-
moving and installing the windshield, except the operation
glass out of the weatherstrip.
requires only one person. Refer to figures 8-3, 8-4, and 8-5.
Change 1 8-1


