TM 9-2320-266-34
3-10. Oil Pan Replacement.
a. Drain the engine oil.
b. Remove the left side support, connecting the con-
verter housing to the cylinder block.
C. Remove the oil pan attaching bolts. Lower the pan
down and to the rear.
d. To install, use a new gasket and reverse the above pro-
cedure. Tighten the capscrews to 17 ft-lbs.
3-11. Oil Pump Replacement.
b. Remove the oil pump mounting bolts, and remove the
pump from the rear main bearing cap.
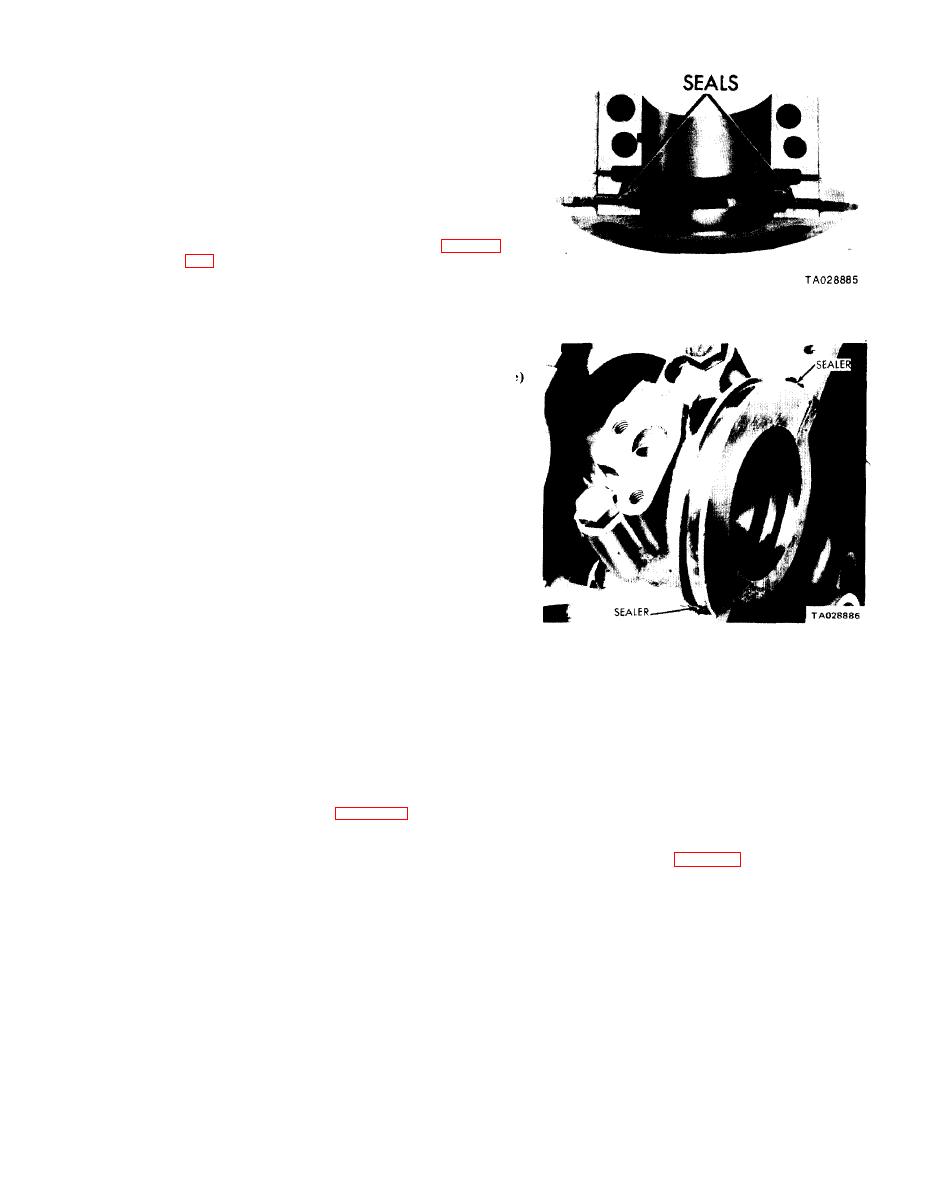
Figure 3-12. Rear Main Bearing Cap.
c. To install, use a new gasket and reverse the above pro-
cedure. Tighten the mounting bolts to 15 ft-lbs.
3-12. Rear Main Oil Seal,
a. Description. Service seals are of split rubber (neoprene
composition. The seals make it possible to replace the upper
rear seal without removing the crankshaft, Use the upper
and lower seals as a set. The set cannot be combined with
the rope seal. A rope seal is supplied in the engine gasket
package and used when the engine is rebuilt.
b. Replacement Procedures.
(1) With the oil pan and oil pump removed, remove
the rear main bearing cap.
(2) Remove the lower rope oil seal by prying it from
the side with a small screwdriver,
(3) With rope seals, remove the upper half by screw-
ing a small screw into the end of the seal. Pull the seal out
with pliers while rotating the crankshaft. Use needle nose
pliers to pull out neoprene-type seals.
-----
CAU- ION
- - T- -
Figure 3-13. Oil Pan End Seal at Rear Bearing.
Always wipe the crankshaft surface clean,
(4) Remove the fan shroud from the radiator and rest
then oil it lightly before installing a new seal.
it on the water pump.
(4) Oil the seal lip lightly with engine oil.
(5) Disconnect the radiator hoses, heater hoses, and
(5) Position the new upper half of the rear main oil
transmission lines. Remove the radiator and surge tank.
seal in the groove, and slide it into position while rotating
(6) Remove the fan shroud from the engine
the crankshaft.
compartment.
(6) Install the lower half of the seal into the rear main
(7) Loosen the alternator adjusting bolt and remove
bearing cap, with the paint stripe to the rear.
the fan belt.
(7) Install the rear main bearing cap. Tighten bolts
(8) Remove the fan, spacer, pulley, and attaching
alternately to 85 ft-lbs. See figures 3-12 and 3-13.
bolts as an assembly.
3-13. Engine Removal and Installation,
(9) Remove the air cleaner and carburetor. Install a
a. Removal.
lifting eye (tool C-4384, figure 3-14).
(1) Disconnect the negative (ground) cable at the
battery and at the cylinder head.
(2) Drain the cooling system.
(3) Scribe the hood hinge outlines on the hood and
remove the hood.
3-7


