TM 9-2320-266-34
torque converter from slipping out of the housing when the
engine is lifted.
(16) Remove the torque converter drive plate nuts
from the drive plate. Mark the converter and drive plate to
aid in positioning them for reassembly.
(17) Support the transmission with a transmission jack
and attach a chain hoist to the engine lifting eye.
(18) Remove the engine front mount bolts and lift
out the engine. Install it in the engine test stand.
NOTE
[f the engine is being replaced by a dif-
ferent engine, remove all radio suppression
equipment from the old engine, and install
it on the replacement engine. Also,
remove the throttle/transmission linkage.
The replacement engine might not come
equipped with these parts or the parts
might be different.
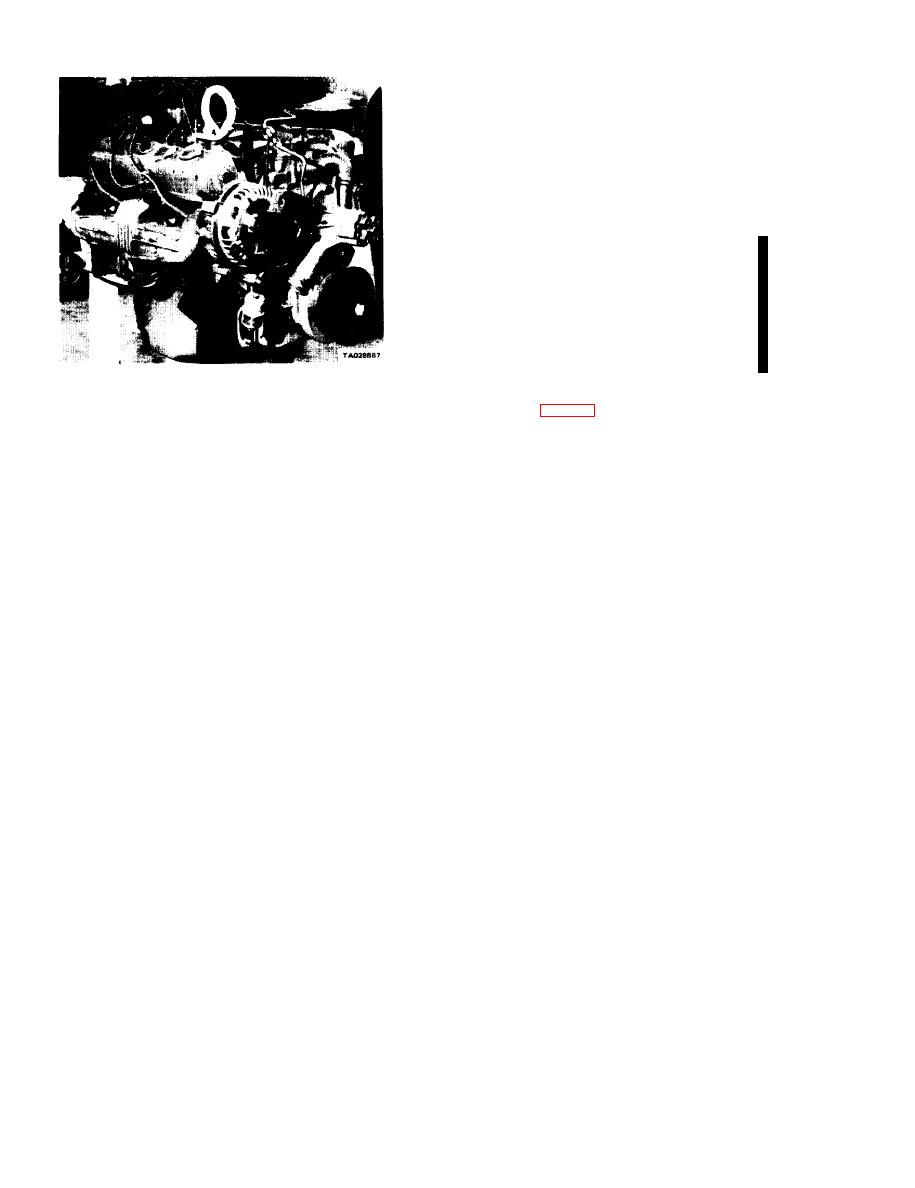
Figure 3-14. Installation of Lifting Eye.
b. lnstallation. To install the engine, reverse the pro-
(10) Disconnect the fuel line between the frame and
the fuel pump. Cap the line.
After installation, test drive the truck and make any neces-
sary adjustments.
(11) Disconnect the electrical connections at the
following points:
314. Replacing the Front Motor Mounts.
a. General Information. Replace only one motor mount
Primary ignition coil lead
at a time. If both front motor mounts are bad, replace one
Temperature sending unit
and then repeat steps 2 through 4, below, separately for the
Oil pressure sending unit
other mount.
-- Engine-to-body ground
Starter relay-to-solenoid wires (at the solenoid).
b. Replacement Procedure.
(1) Remove the carburetor. Install the engine lifting
(12) Remove the throttle linkage from the intake
manifold. Secure the linkage and all loose wiring to the
adapter to the intake manifold.
firewall.
(2) Remove the motor mount insulator stop stud nut
and washer. Remove the stud.
(14) Remove the starter motor.
(3) Raise the engine just enough to clear the mount,
and remove the mount.
(15) Remove the bell housing bolts and the inspection
plate. Attach a "C" clamp on the front bottom of the trans-
(4) To install a new mount, reverse the above
mission torque converter housing. This will prevent the
procedure.
3-8
Change 2


