TM 9-2320-266-34
Section II. DISASSEMBLY AND CLEANING
11-3. Engine Disassembly.
a. Preparation. Remove the engine from the truck and
install it in a test stand (paragraph 3-13).
b. Disassembly. When the engine is being disassembled
for a complete overhaul, remove components in the following
sequence:
(2) Fan belt, fan, spacer, and pulley (if not already
removed).
(4) Thermostat housing, thermostat, and bypass hose.
(5) Temperature and oil pressure gage sending units.
(6) Ignition coil.
(7) Choke element (from the intake manifold).
(8) Distributor assembly, including wires.
(9) Spark plugs.
(lo) Oil filter.
(11) Fuel pump.
(12) Water pump.
(15) Rocker arm shaft assemblies.
(16) Push rods. Identity them so that each one can be
Figure 11-1. Deleted.
installed in its original position.
(17) Intake manifold.
(18) Valve tappets.
(19) Cylinder heads.
(20) Use a cylinder ridge reamer to remove the
ridges at the top of the cylinder bores.
(21) Oil pan.
(22) Oil pickup screen and oil pump (with drive shaft).
NOTE
Before proceeding to step 23, inspect the
connecting rods and rod caps for cylinder
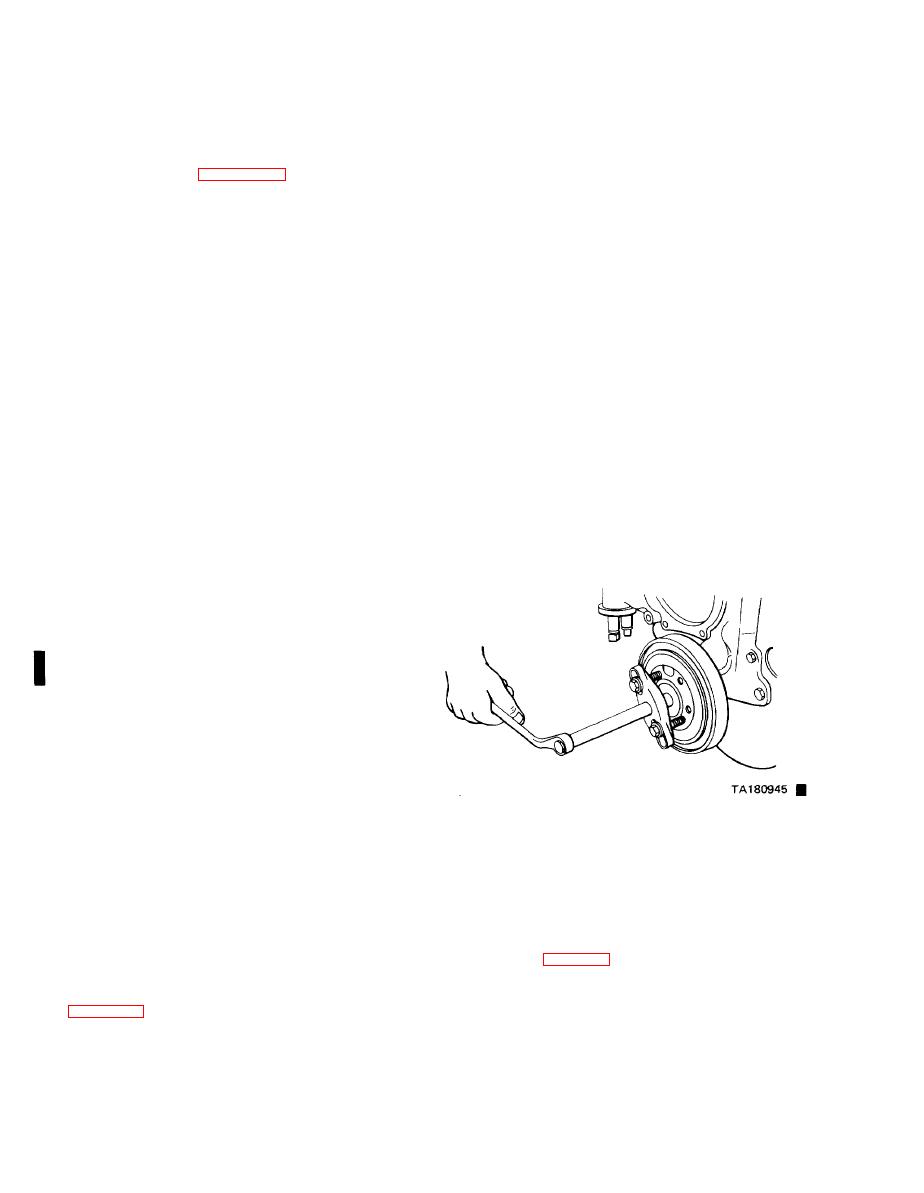
Figure 11-2. Removing Vibration Damper Assembly.
identification. Identify them, if necessary,
so they can be reinstalled in their original
position.
(25) Timing chain cover.
(26) Timing chain, sprocket, and fuel pump eccentric.
(27) Main bearing caps. Identify each cap for correct
(23) Connecting rod caps. When removing the piston
location and position.
and connecting rod assemblies from the engine, rotate the
(28) Crankshaft.
crankshaft so that each connecting rod is centered in the
(29) Camshaft thrust plate. Note the location of the
cylinder bore as you lift it out. Use a hammer handle to
timing chain oil tab (figure 11-3).
push each piston and rod assembly out of the cylinder bore.
Be careful not to damage the crankshaft journals.
(30) Install a long bolt into the front of the camshaft
for easy removal. Remove the camshaft, being careful not to
scar the bearings.
11-4
Change 6


